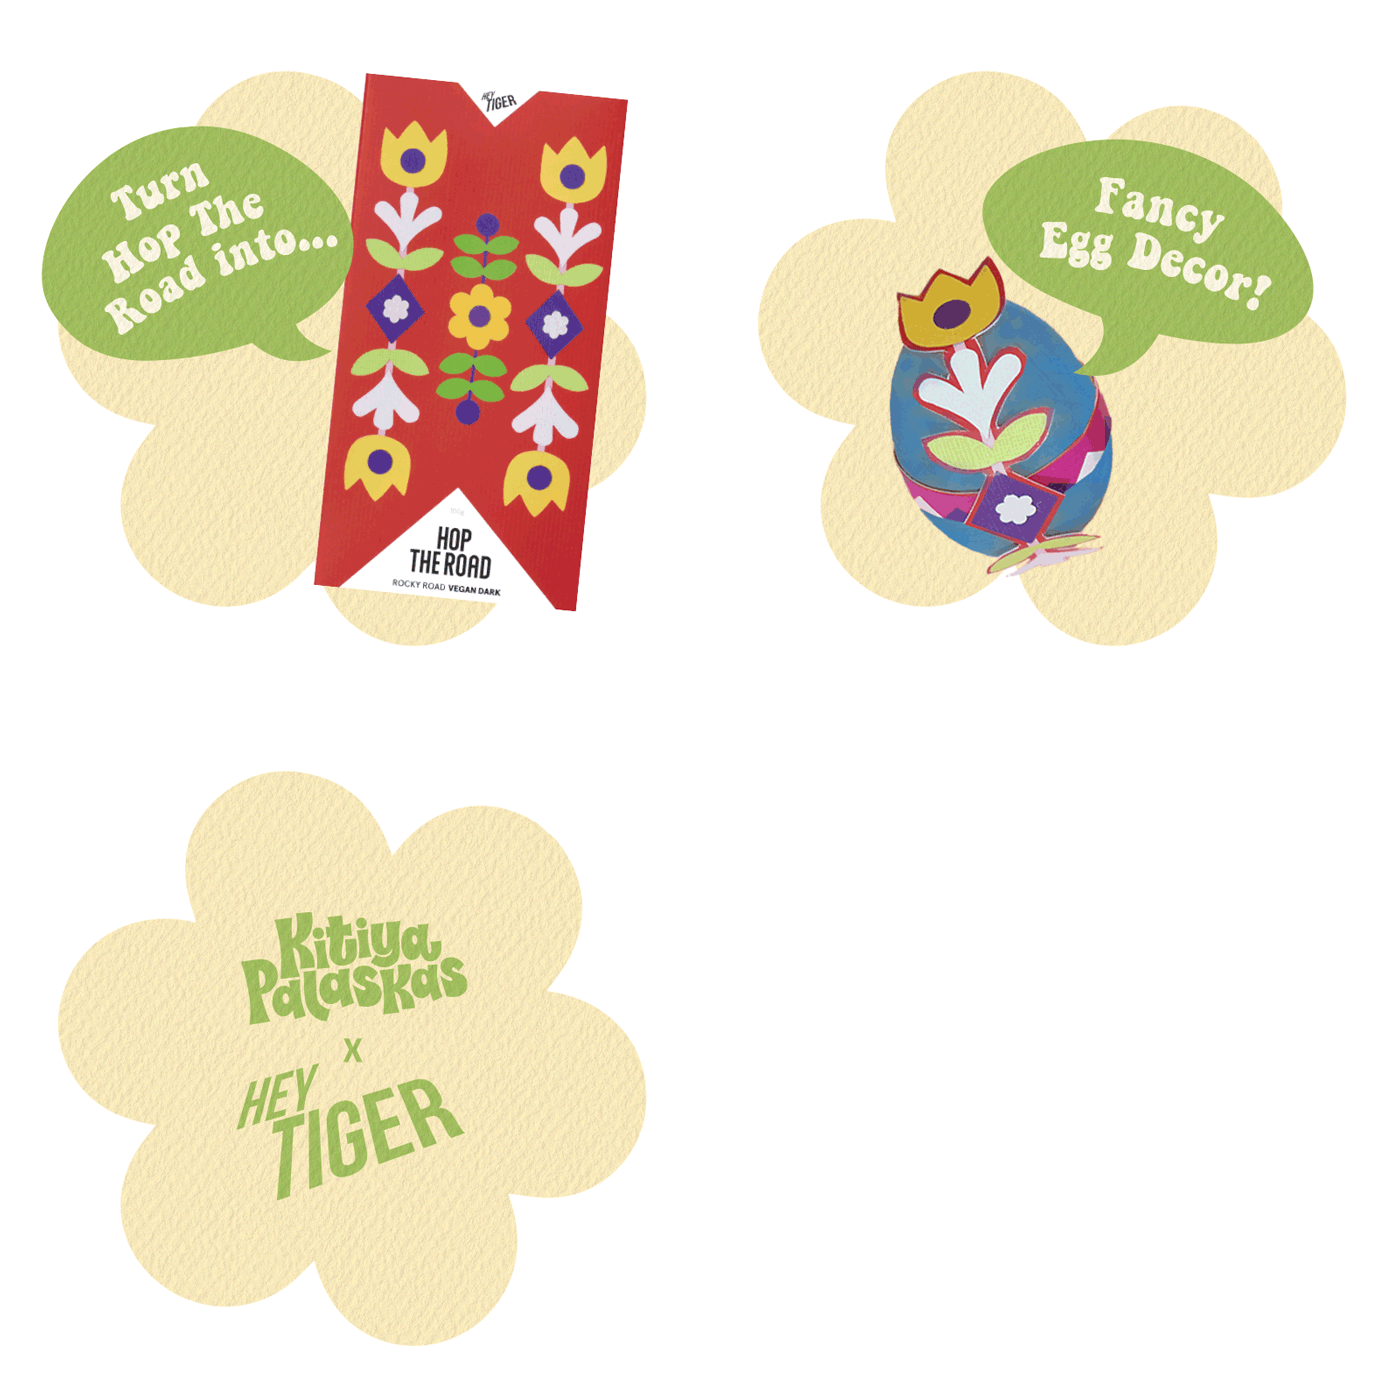

Hop The Road - DIY Project

Egg décor DIY
It’s time to upcycle! We’ve teamed up with craft-based designer - Kitiya Palaskas to turn your Easter into a time of creativity & wonder.
Paying homage to traditional dyed egg crafts, use the illustrations from your Hop The Road chocolate box to create decorative motifs. Please note, little hands may need an adults' help to complete this project.
You will need
- An empty Hop The Road chocolate box
- Hot glue gun, or double-sided tape
- Scissors
- Dyed eggs, ceramic eggs, wooden eggs, baubles... or anything else you fancy!
Step 1
Carefully open up the chocolate box and flatten it out. Be careful not to tear the box as you do so.
Step 2
Cut out the floral motifs. You can either cut right along the edges of each illustration, or leave a slight border around (an easier cutting option).
Step 3
Cut out the blue, pink and white diamond strip.
Step 4
Use one of the adhesive options to glue or stick the motifs directly onto your Easter eggs, in any design formation you like. We used the larger motifs to wrap around the eggs, and the smaller one combine with the the diamond strip to create a crossed formation.
Handy Tip
Hot glue is the strongest and quickest drying adhesive option for this project.
Cuuuuute! Ain't these just the prettiest dressed up eggs you've ever seen? Paint or dye your eggs beforehand to make them even fancier or decorate some pretty ceramic eggs, wooden eggs or baubles - the possibilities are endless!
Once you've completed this one, take a peek at the rest of our adorable Eastery DIY's.
And make sure to hop over to Kitiya's page to watch her How To Video's on Youtube here.
Sign up to our newsletter
Join the Hey Tiger community to be the first to know about exciting updates, new releases, and exclusive offers.


